Beer Recipes: Quick Homebrew Ideas for Every Palate
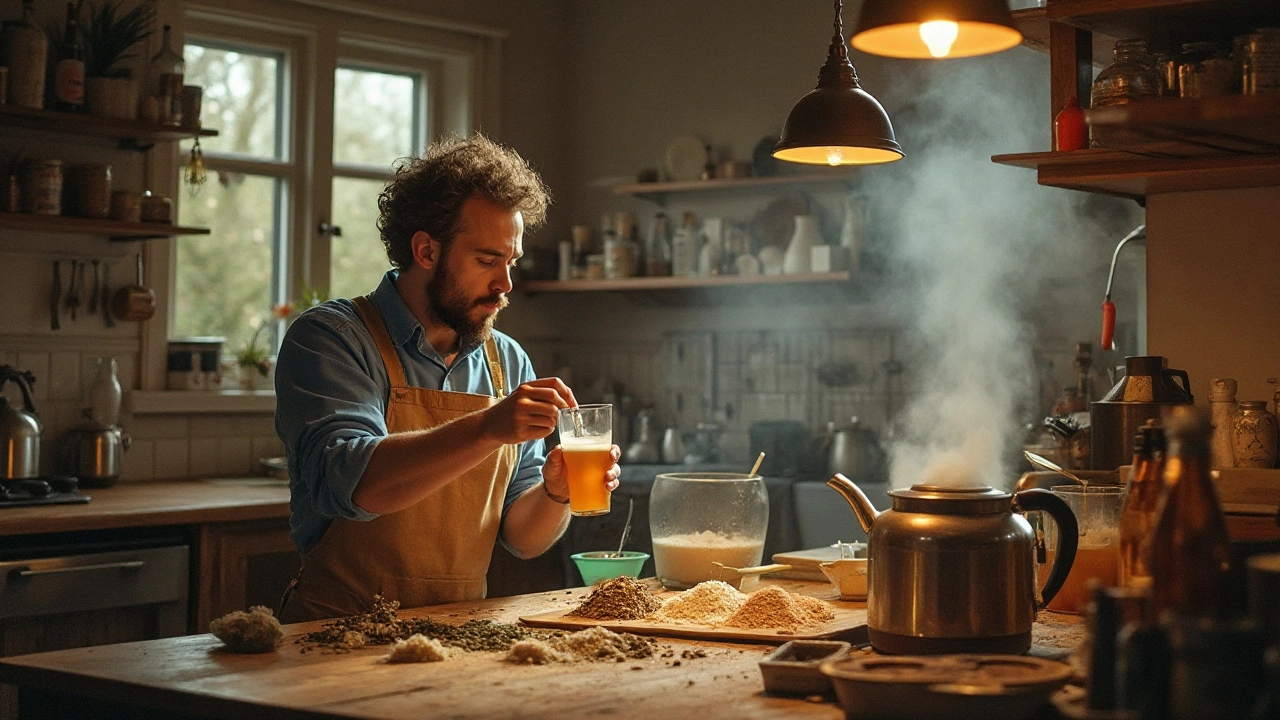
If you’ve ever wondered how to turn basic ingredients into a cold, refreshing brew, you’re in the right spot. Beer recipes don’t have to be complicated or require a full‑on laboratory. With a few pantry staples, a bit of patience, and the right guidance, you can craft tasty lagers, crisp pilsners, or hoppy IPAs right in your kitchen.
What You Need to Get Started
The core of any beer recipe is the same: water, malt, hops, and yeast. Tap water works fine as long as it’s not overly chlorinated—run it through a filter or let it sit for a few hours to release any chemicals. Malt gives the beer its color and sugar; you can buy malt extract in liquid or powder form for simplicity. Hops add bitterness, flavor, and aroma; beginners often start with a single hop variety like Cascade. Finally, yeast does the magic of turning sugar into alcohol and carbon dioxide. Pick an ale yeast if you want a faster, warmer fermentation, or a lager yeast for a cleaner taste that needs cooler temps.
Simple Step‑by‑Step Brewing
1. Heat the water. Bring about two gallons of water to 150°F (65°C). This is the steeping temperature for malt extract. Add your malt, stir until dissolved, and keep the mix at that temperature for 20‑30 minutes.
2. Boil and add hops. Raise the mixture (now called wort) to a rolling boil. Once boiling, add hops according to your recipe’s schedule—most beginners use a 60‑minute total boil with a 30‑minute hop addition for bitterness and a final 5‑minute addition for aroma.
3. Cool quickly. After the boil, the wort needs to drop to yeast‑friendly temps (around 68°F for ale yeast). An ice bath or a wort chiller works best. Speedy cooling helps avoid off‑flavors.
4. Ferment. Transfer the cooled wort to a sanitized fermenter, pitch your yeast, and seal with an airlock. Store the fermenter in a dark, stable‑temperature spot. Ale yeast usually finishes in 7‑10 days; lager yeast can take two weeks or more.
5. Bottle or keg. Once fermentation is complete (check the gravity), add a small amount of priming sugar, then bottle or keg. Let it carbonate for another week to ten days, then chill and enjoy.
That’s the whole process in a nutshell. Feel free to tweak the hop amounts, try different malt colors, or experiment with fruit additions. Every change teaches you a bit more about flavor balance.
On our site you’ll also find articles that tie into these recipes. Curious about the world’s top beer? Check out the post “What Is the Number One Beer in the World?” for inspiration on style and branding. If you prefer non‑alcoholic options, the “Best Healthy Mocktails” guide can show you how to craft tasty, low‑calorie drinks for a brew‑free day.
Remember, the biggest mistake new brewers make is ignoring sanitation. Always clean and sanitize every tool that touches the wort after the boil. A simple rinse with a no‑rinse sanitizer saves you from off‑flavors that can ruin a batch.
With a basic recipe and a clean setup, you can start brewing within a weekend. Keep notes on each batch—what hops you used, fermentation temps, and final taste. Over time you’ll develop a personal style and maybe even impress friends at the next gathering.
So grab that malt extract, pick a hop variety, and give homebrew a try. The satisfaction of sipping a beer you made yourself beats any store‑bought brew. Cheers to your first (or next) batch of delicious, handcrafted beer!
Homebrewing beer can be an exciting and rewarding venture, but some beer styles present more challenges than others. Various factors contribute to the complexity of certain brews, including ingredient availability, intricate processes, and precise temperatures. This article explores the most challenging beers to brew at home, examines the reasons behind their difficulty, and offers practical tips for ambitious homebrewers willing to take on these flavorful challenges.
View Details

