Brewing Kit Basics: Pick, Set Up, and Brew Great Beer at Home
If you’ve ever wondered how to turn a simple box of ingredients into a cold pint, a brewing kit is your shortcut. It bundles everything you need – fermenter, ingredients, and instructions – so you can focus on the fun part: tasting. In this guide we’ll walk through choosing the right kit, unboxing the gear, the brewing steps, and a few tricks to avoid common slip‑ups.
What’s Inside a Brewing Kit?
A typical kit includes a large plastic fermenter with a lid and airlock, a malt extract or grain bag, a hop pack, yeast, and a sanitizer. Some kits also throw in a bottling wand and a small kettle. The fermenter is where sugar turns into alcohol, so look for a sturdy, food‑grade container that snaps shut tightly. The airlock lets carbon dioxide escape while keeping oxygen out – two things that keep your beer fresh.
Check the yeast strain. Ale yeasts work at room temperature (65‑70°F) and are forgiving, while lager yeasts need cooler temps and a longer wait. If you’re new, start with an ale kit – the temperature range is easy to manage with a regular kitchen thermometer.
Step‑by‑Step Brew Process
1. Sanitize everything. This is the single most important step. Use a no‑rinse sanitizer, spray the fermenter, lid, and any utensils, then let them sit for a minute. Skip this and you’ll risk off‑flavors.
2. Heat the water. Fill a kettle with the amount of water the kit calls for (usually 2‑3 gal). Bring it to a gentle boil – not a rolling boil – then add the malt extract or grains. Stir constantly to avoid scorching.
3. Add hops. Most kits have a schedule: a few minutes in, then at the end of the boil. Follow the timing; early hops give bitterness, late hops add aroma.
4. Cool the wort. After the boil, you need to drop the temperature quickly. An ice bath in a sink works fine for small batches. Aim for the yeast’s ideal range before you pitch.
5. Pitch the yeast. Sprinkle the dry yeast on the cooled wort, give it a quick stir, and seal the fermenter with the lid and airlock. Place it in a dark spot at the recommended temperature.
6. Ferment. Most ale kits finish in 7‑10 days. You’ll see bubbles in the airlock; when they slow down, the beer is likely done.
7. Package. Add priming sugar to the bottling bucket, then transfer the beer, leaving sediment behind. Fill clean bottles, cap them, and let them carbonate for 2‑3 weeks at room temperature.
8. Enjoy. Chill a bottle, pour into a glass, and smell the aromas. If something tastes off, double‑check sanitation and temperature next time.
Quick tips: keep a notebook of each brew, note temperature swings, and taste as you go. If you notice a strong off‑smell, it’s probably a sanitation issue. Also, don’t rush the bottling step – proper priming sugar prevents over‑carbonation and bottle bursts.
With the right kit and a few simple habits, brewing at home becomes a rewarding hobby rather than a science experiment. Grab a kit, follow the steps, and soon you’ll be swapping stories over a glass you made yourself.
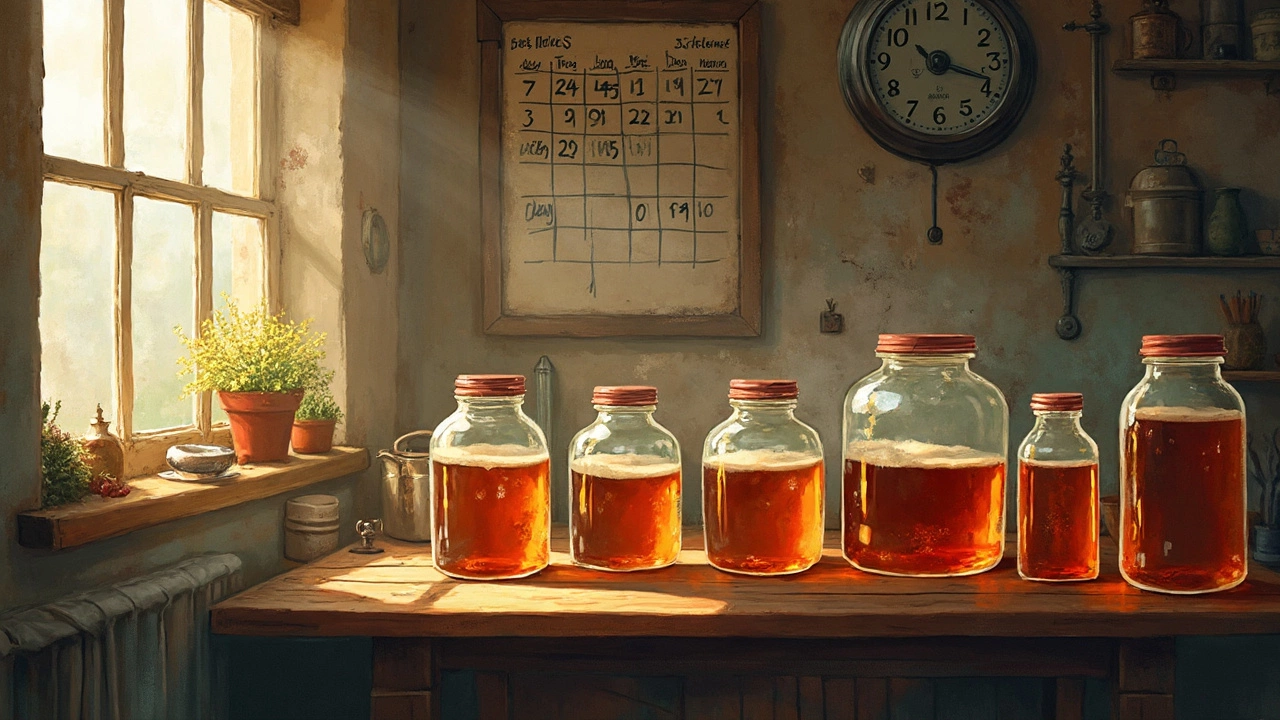
Ever wondered if letting your beer ferment longer makes a difference? Most home brewers have been there, pondering whether to crack open the fermenter early or wait a little longer. This article discusses the impact of extended fermentation on flavor and quality and whether the extra days make your home-brewed flavors more complex or just plain funky.
View Details