Brewing Tips for Better Home Beer
If you’ve ever wondered why your home brew doesn’t taste like the one you love at the pub, you’re not alone. The good news is that a few simple tweaks can turn a decent batch into something spectacular. Below you’ll find straight‑forward advice you can start using today, no matter if you’re a first‑timer or have been brewing for years.
Start Simple: Essential Gear
The first thing to check is your equipment. You don’t need a fancy setup, but you do need clean, reliable tools. A good kettle (at least 5 gal), a fermenter with an airtight lid, a food‑grade sanitizer, and a reliable thermometer are the basics. Skip cheap plastic containers that can leach flavors; opt for food‑grade plastic or stainless steel instead. Cleanliness is everything – a single ounce of unwanted bacteria can spoil an entire batch.
Next, think about your water. Most people use tap water, which is fine if it’s not heavily chlorinated. If you taste chlorine, let the water sit for 24 hours or use a simple carbon filter. Good water makes good beer, so don’t overlook this step.
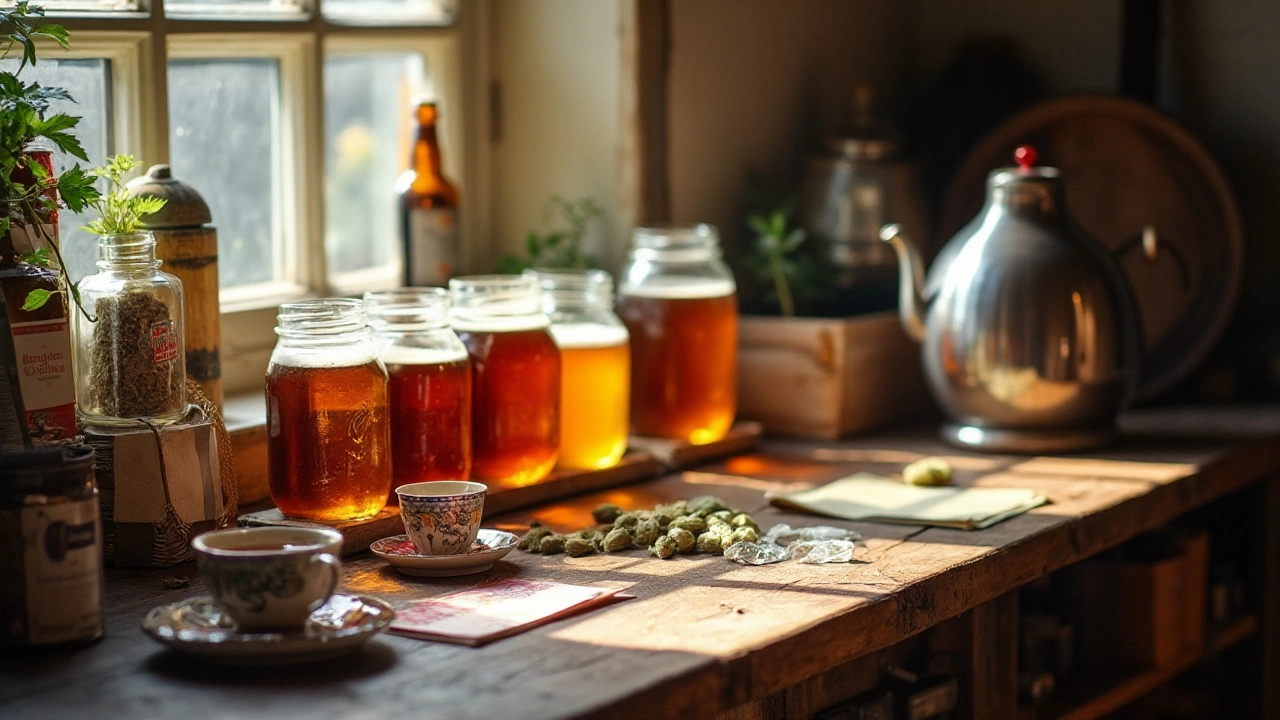
Common Mistakes and How to Fix Them
One classic mistake is rushing the fermentation temperature. Yeast works best in a stable range – usually 18‑22 °C for ales and 10‑14 °C for lagers. Use a heater or a fridge with a thermostat to keep the temp steady. Fluctuations can cause off‑flavors or stall the fermentation.
Another pitfall is over‑ or under‑pitching yeast. That’s a fancy way of saying you need the right amount of yeast for the batch size. Packets of dry yeast usually have a dosage guide – follow it. If you’re using liquid yeast, swab the vial with a sterile needle and add the whole contents. Skipping this step often leads to weak carbonation or strange aromatics.
Don’t forget about oxygen. When you transfer wort to the fermenter, you want to add a little oxygen to help yeast start strong, but after the first few days you need a completely anaerobic environment. Use an airlock and keep the fermenter sealed. If you notice a film on top, that’s a sign of oxygen exposure – try to keep it covered.
Finally, give your beer enough time to mature. Many new brewers bottle after two weeks, but most ales need at least three to four weeks for flavors to meld. Lagers need even longer, often up to two months. Patience pays off – the longer you wait, the smoother the drink.
By focusing on clean gear, stable temperatures, proper yeast handling, and enough aging time, you’ll see a noticeable jump in taste and aroma. The next time you open a bottle, you’ll know exactly which step made the difference. Happy brewing!
Home brewing kits offer a gateway into the world of crafting personalized beverages at home. Understanding their lifespan is crucial for maintaining efficiency and ensuring a quality brewing experience. This article explores factors that influence the longevity of home brewing kits, provides tips for maintaining them, and offers insights into how storage and cleaning routines can affect their usability. We also discuss signs that indicate when it's time to replace components and how to extend their life.
View Details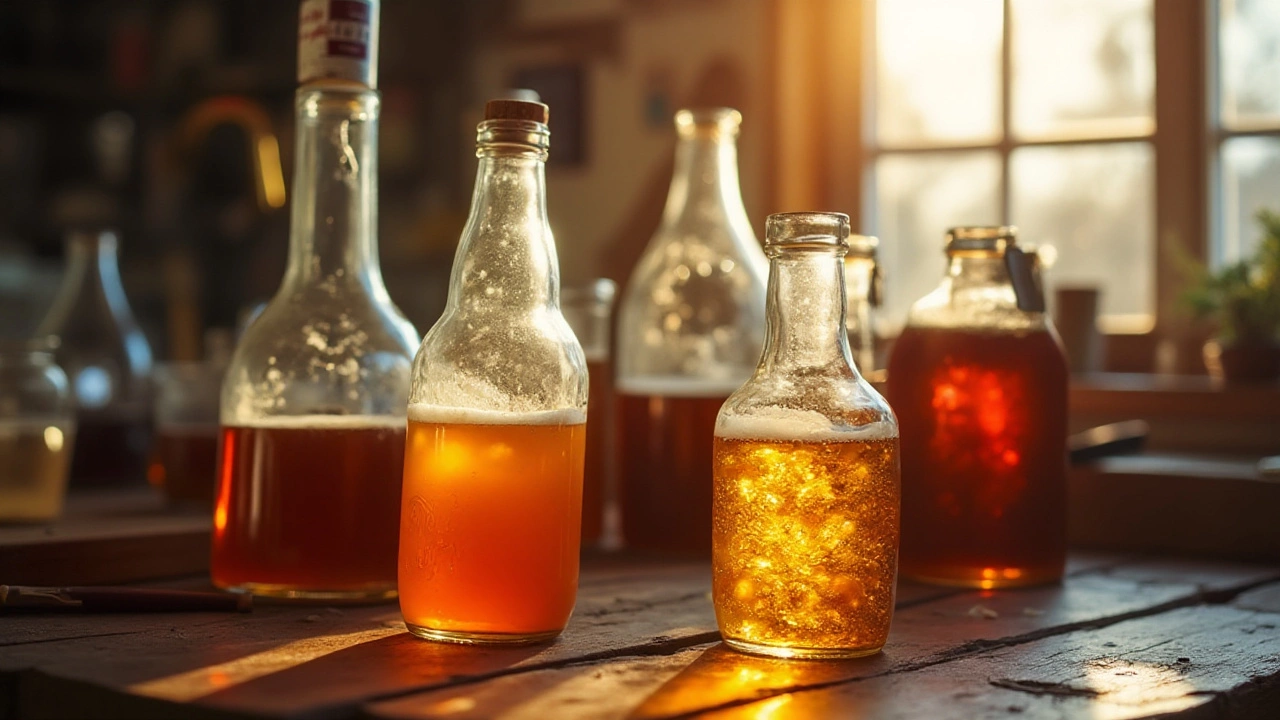
Delve into the science of beer fermentation to discover how the duration influences the strength and flavor of your homebrew. This essential guide for homebrewers explores the role of yeast, alcohol content, and factors impacting fermentation. Learn how to adjust your brewing techniques for optimal results and create flavorful and robust beers. Uncover exciting facts and expert tips that can elevate your brewing game to the next level.
View Details