Cheese Board Basics: Build, Pair & Serve Like a Pro
If you’ve ever stared at a plain plate of cheese and felt something was missing, you’re not alone. A good cheese board turns a simple snack into a real experience. You don’t need fancy tools or a culinary degree – just a few smart choices and a bit of layout sense.
Choosing the Right Cheeses
Start with four basic types: a hard cheese, a soft cheese, a blue cheese, and a semi‑hard or aged option. Hard cheeses like cheddar or aged gouda hold up well next to crackers and are easy to slice. Soft cheeses such as brie or camembert spread nicely on warm bread and add a creamy contrast.
Blue cheese brings a punchy flavor that pairs perfectly with sweet fruits or honey. If you’re not a fan of strong aromas, try a milder blue like gorgonzola. For the semi‑hard slot, think of manchego, provolone, or a nutty comté. These fill the gap between hard and soft, giving texture variety.
Don’t feel forced to stick to exactly four cheeses – the rule is flexibility. If you love goat cheese, replace one of the others. The goal is to offer at least one from each texture group so everyone can find something they enjoy.
Pairing Wine and Extras
Wine is the classic companion, but you can also serve non‑alcoholic drinks. A crisp white like Sauvignon Blanc works well with goat cheese and brie, while a fuller red such as Pinot Noir pairs nicely with aged cheddar and blue cheese. If you’re serving a mixed crowd, offer a light rosé or a sparkling water with a slice of lemon.
Accompaniments are the fun part. Fresh fruit – grapes, apple slices, or figs – adds sweetness and cuts the richness. Nuts, especially almonds or walnuts, bring crunch and a hint of bitterness that balances creamy cheeses. Jams, honey, or a fig spread give a sticky, sweet counterpoint; just a small spoonful on the side is enough.
Don’t forget the bread and crackers. Lightly toasted baguette slices, crisp crackers, or even pretzel sticks give a solid base for spreading cheese or topping with fruit. Keep the carbs neutral so they don’t overpower the flavors.
When you arrange the board, think of balance. Place the largest cheese wedges first, then fill gaps with smaller pieces, fruit, and nuts. Use a small bowl for jam or honey to avoid spills. A quick visual tip: create a color gradient from light (soft cheeses) to dark (aged cheeses) for an inviting look.
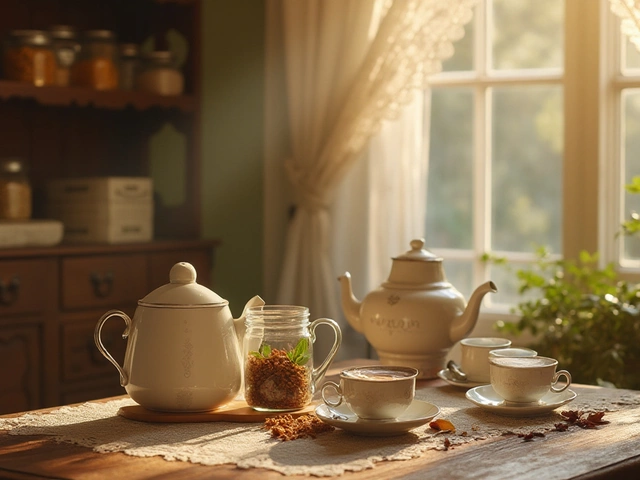
Finally, serve at room temperature. Take the cheese out of the fridge about 30 minutes before guests arrive. This brings out the flavors and makes slicing easier. If you’re short on time, a quick microwave on low for 10 seconds can warm a hard cheese just enough.
With these basics – a mix of textures, thoughtful pairings, and a tidy arrangement – you can build a cheese board that feels sophisticated without the stress. Try it at your next movie night, after‑work gathering, or weekend brunch. Your friends will ask for the recipe, and you’ll have a ready‑to‑go cheat sheet for the next time you need to impress.
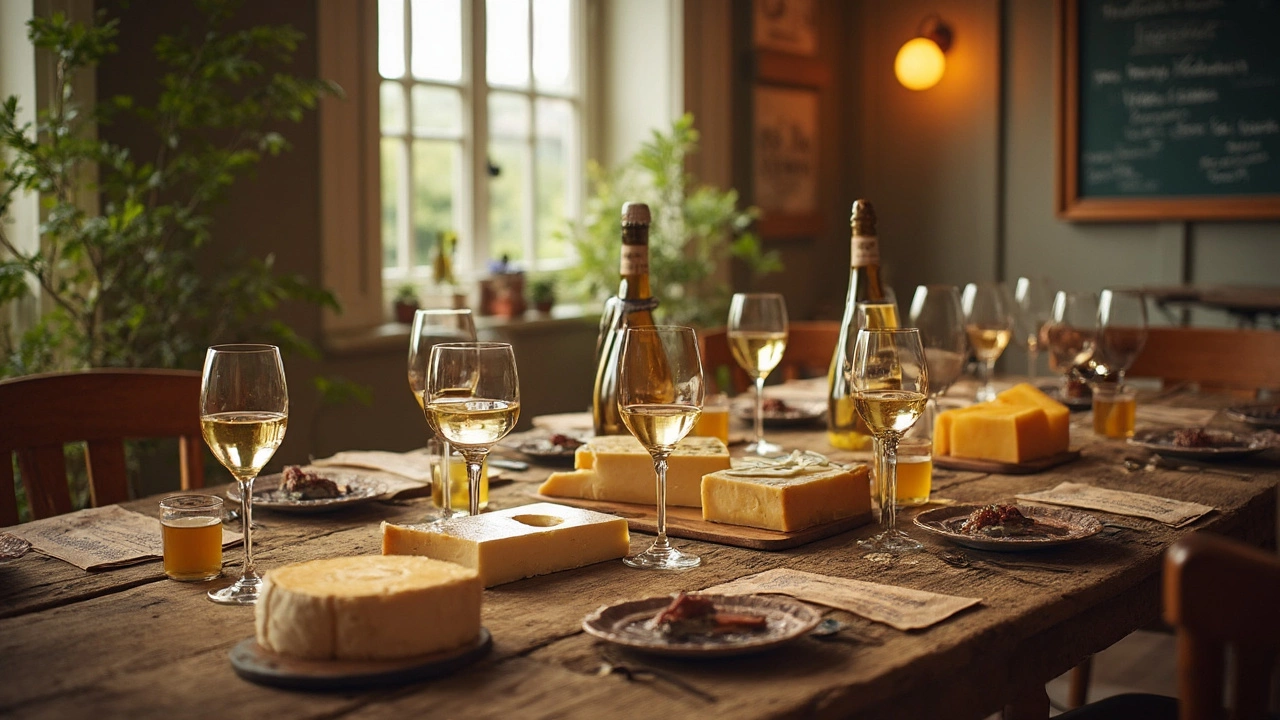
Pairing white wine with cheese isn't as tricky as it seems—some combos just make sense. This article breaks down which white wines actually work best with popular cheeses, from sharp cheddar to creamy brie. You'll find no-nonsense tips, a few surprises, and clear matches that even beginners can follow. Expect useful facts and ideas to help plan your next cheese board. Say goodbye to guesswork and impress your friends with smart pairings.
View Details