DIY Beer: How to Brew Your Own Beer at Home
Ever thought about turning your kitchen into a mini brewery? You don't need a giant setup or a fancy license – just a few basic tools and a willingness to get a little messy. Brewing your own beer can save cash, let you experiment with flavors, and give you a story to tell at any gathering.
Essential Gear for Your First Batch
Start with a small kit. A five‑gallon pot, a fermenter with an airlock, a siphon, and a bottling wand cover most needs. A good food‑grade sanitizer is non‑negotiable – clean everything before it touches the brew, or you’ll end up with off‑flavors. You’ll also need a basic digital thermometer, a hydrometer to measure sugar levels, and a sturdy spoon for stirring. Most new brewers grab a starter kit from a homebrew shop; it bundles everything at a decent price.
Step‑by‑Step Brewing Process
1. Prep and sanitize. Wash all your equipment with hot, soapy water, rinse well, then soak in sanitizer. Skipping this step leads to infection, which can ruin a whole batch.
2. Heat water and add malt extract. Fill your pot with about three gallons of water, heat to around 150°F (65°C), then stir in liquid malt extract. This forms the base sugar that the yeast will turn into alcohol.
3. Boil and add hops. Bring the mixture to a rolling boil and let it run for 60 minutes. Hops go in at different times: the first 10 minutes give bitterness, the next 10 add flavor, and a short add at the end boosts aroma. Use a small jar or hop bag to keep things tidy.
4: Cool quickly. After the boil, you need the wort (the sugary liquid) under 80°F fast. An ice bath in a clean sink works well – just stir until it cools.
5. Transfer and ferment. Pour the cooled wort into your sanitized fermenter, top up with clean water to reach five gallons, and give it a gentle swirl. Snap on the airlock, place the fermenter in a dark, temperature‑stable spot (around 68°F for ales), and let the yeast work for about two weeks. You’ll see bubbles in the airlock – that’s a good sign.
6. Check gravity and bottle. After 10‑14 days, use the hydrometer. If the reading is stable for a couple of days, fermentation is done. Add a measured amount of priming sugar, then siphon the beer into sanitized bottles, leaving about an inch of headspace. Cap them tightly and let them sit another two weeks for carbonation.
When you pop the first bottle, look for a clear head and a pleasant aroma. If it tastes harsh, it might need a few more days to condition. The great thing about DIY beer is you can tweak any step – try different hop varieties, experiment with fruit additions, or adjust the malt profile. Each batch teaches you something new.
Remember, patience pays off. Rushing the ferment or skipping sanitation will only lead to disappointment. Keep notes on ingredients, times, and temperatures so you can repeat successes and avoid mistakes. Before long, you’ll be brewing enough to share with friends, host a tasting night, or even enter a local competition.

Wondering if homebrewing your own beer is worth it? This article breaks down the real cost per pint when you use home brewing kits, factoring in ingredients, equipment, and hidden expenses. Get clear numbers, smart insights, and learn how your brewing choices affect what you pay for each glass. From basic starter kits to splurging on premium hops, you'll know exactly where your money goes. Whether you're just curious or ready to brew, this guide will show if you're really saving or spending more than you think.
View Details
Thinking about brewing beer without breaking the bank? Uncover the world of budget home brewing with simple kits that offer big taste without a big price. Learn the essentials of cost-effective brewing, choose the right equipment, and find tips on using everyday items to craft delicious beer at home. This guide makes brewing beer both fun and economical.
View Details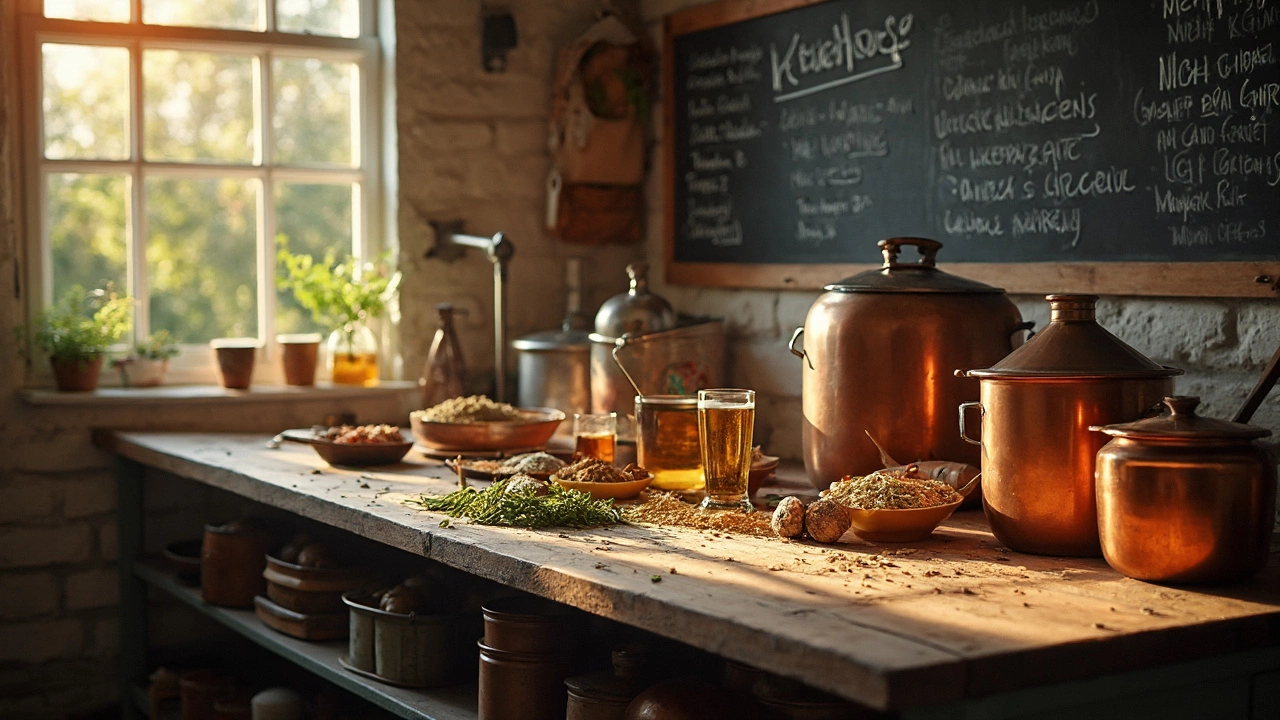
Curious about saving money on your brews? Delve into the world of home brewing, where you mix ingredients, time, and patience into a concoction that might just hit the spot. But is your homemade brew kinder on your wallet than a six-pack from the store? We'll break down everything from initial investments to delicious results, helping you see if home brewing is genuinely pocket-friendly.
View Details