Imagine cracking open a homebrewed beer and the taste is spot on—the aroma makes you feel like you’re in a brewery, not your garage. The yeast is the secret ingredient. Seriously, you can use top-notch malt and hops, but if you mess up the yeast part, your beer can go bland, weird, or even undrinkable. Yeast doesn't just turn sugar into alcohol; it decides the character, aroma, mouthfeel—pretty much everything except the color. How do you pick the best one for your style, and what classic mistakes do first timers (and overconfident old hands) still make?
Yeast Basics: Why Your Choice Matters
Yeast is more than just the thing that makes your beer boozy. It’s a living, breathing (well, sort of), flavor-generating machine. Brewing yeast falls into two big categories: ale yeast (Saccharomyces cerevisiae) and lager yeast (Saccharomyces pastorianus, sometimes called S. carlsbergensis). This isn’t trivia. The type of yeast you pick changes everything about your beer—from fruity Belgian blondes to crisp pilsners, it’s all in the yeast’s DNA.
Ale yeasts are the party people. They love it warm (60–75°F/15–24°C), they’re quick to finish, and they kick out flavors that range from fruity and spicy to slightly nutty or even frankly weird (in a good way for saisons, less so in your IPA). Want a stout, pale ale, or something strong and hoppy? Ale yeast is the classic choice.
Lager yeasts are the introverts. They like it chilly—think 48–58°F/9–14°C. They take their sweet time (sometimes weeks or months longer than ales), but in return, you get beers that are super clean, sometimes almost neutral, with a trademark crispness. Classic pilsners, Vienna lagers, and dunkels all lean on these patient, bottom-fermenting yeasts.
Most homebrewers start with ales, because keeping your closet at lager temps isn’t always realistic. Don’t worry. With the right ale yeast, you can make beers impressive enough to fool picky friends who swear only lagers are "real beer." That said, homebrew gadgets like temperature control fridges have made home-lagering totally possible. If you’re up for it, don’t be afraid to try both.
Here’s a quick breakdown of how ale and lager strains stack up:
| Yeast Type | Fermentation Temp | Common Styles | Fermentation Speed | Flavor Impact |
|---|---|---|---|---|
| Ale (S. cerevisiae) | 60–75°F (15–24°C) | IPA, Stout, Porter, Belgian | 3–7 days | High (fruity, spicy, estery) |
| Lager (S. pastorianus) | 48–58°F (9–14°C) | Pilsner, Helles, Dunkel | 10–21+ days | Low (clean, crisp) |
One surprising fact? The yeast cell count in a standard liquid homebrew pack is usually right around 100 billion cells. That sounds huge, but it’s barely enough to ferment a typical 5-gallon batch cleanly. If you go bigger, or if your original gravity (that’s the unfermented sugars in your wort) is high, you’ll want to pitch more yeast—sometimes known as "making a starter." Skipping this step often leads to underwhelming flavors or the infamous “banana bomb” if the yeast gets stressed.
Dry vs. Liquid Yeast: Modern Choices for Homebrewers
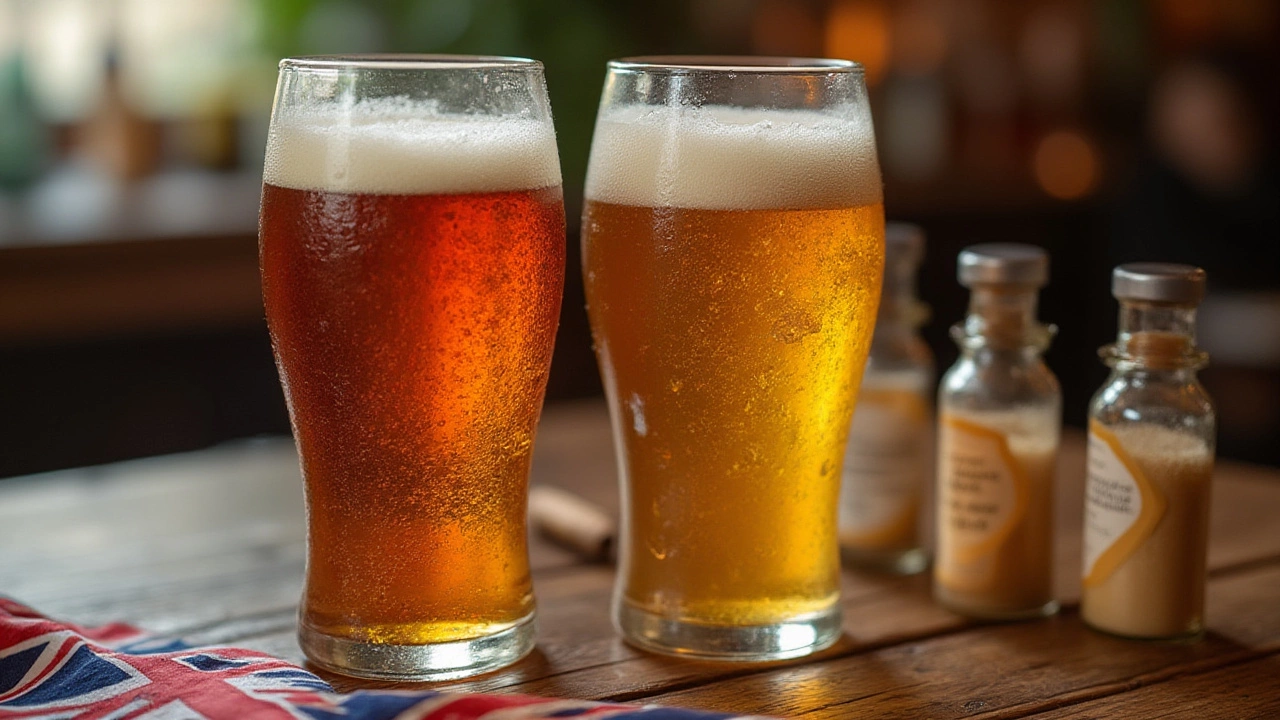
You’ve probably seen dry yeast packs at the homebrew shop—small, lightweight, shelf-stable. Liquid yeast, on the other hand, comes in little smack-packs or vials. Which one do you actually need?
Dry yeast is friendly and forgiving. Twenty years ago, it was the underdog, rumored to be unreliable. That’s not the case anymore. Modern dry yeast—from brands like Fermentis (think Safale US-05 or Saflager S-23) and Lallemand—shows crazy good consistency and can build impressive flavor profiles. Dry yeast packs are also hard to mess up. They sit happily on your shelf for months, don’t mind a little temperature fluctuation, and cost less. Just hydrate according to instructions (or sprinkle directly—yes, you can, unless the label says otherwise).
Liquid yeast is all about options and edge. The world of liquid yeast is packed with specialty strains: British ale strains for nutty bitters, classic German lager cultures, wild ones for saisons and sours. Want a clone of Sierra Nevada Pale Ale? Wyeast 1056 ("Chico") or White Labs WLP001 are cult classics among serious homebrewers. Liquid yeast needs refrigeration and tends to be pricier, but if you want to chase after the tiniest nuances in flavor, this is your playground. One catch: The cell count is sometimes much lower than in dry yeast freights, especially if the pack is older, so sometimes you need two or more packs—check the date before you brew.
Both dry and liquid yeasts make fantastic beer, but there are a few tips to make sure you get the best from either:
- Check expiration dates—old yeast ferments poorly and can cause off flavors.
- For higher gravity beers (above 1.060 OG), pitch extra yeast or make a yeast starter a few days ahead.
- Hydrate dry yeast if recommended—it helps kickstart the fermentation.
- Keep your yeast refrigerated, but bring it to room temp before pitching.
- Certain liquid yeast strains have unique quirks: Some throw a "diacetyl rest" (buttery flavor) or ask for specific oxygen levels.
Never let yeast sit out in the hot car. I lost what should have been an award-winning double IPA to a pack of yeast cooked in my trunk on a July afternoon. It came out tasting like burnt bread crust and regret. Trust me, yeast is alive—it needs TLC.
Matching Yeast to Beer Styles: Real World Picks and Pro Brewing Hacks
Okay, so you’re standing in the homebrew shop or browsing online. Shelves are loaded with names like Nottingham, S-04, Windsor, Belgian Abbey, and numbers like 1098, 001, 1318, 34/70. What does it all mean? Each yeast strain has a "flavor fingerprint." Some kick up lots of fruity esters, while others finish bone dry, or stay cloudy, or create thick foam. The secret is matching the yeast to the beer style—and the vibe you’re aiming for.
Here’s a cheat sheet for matching yeast to classic DIY beer styles:
- IPA/Pale Ale: Dry: Safale US-05. Liquid: Wyeast 1056, White Labs WLP001 (American Ale). These are clean, reliable, and allow your hops to shine.
- Stout/Porter: Dry: Nottingham. Liquid: Wyeast 1084 Irish Ale or White Labs WLP004. These accentuate malt richness and keep the finish smooth, never syrupy.
- Belgian Styles: Dry: Lallemand Abbaye, Mangrove Jack’s M41. Liquid: Wyeast 1214 or 1762. These throw out clove, pepper, banana—iconic Belgian aromas.
- Witbier/Weissbier: Dry: Fermentis WB-06, Lallemand Munich Classic. Liquid: Wyeast 3068 (Weihenstephan), White Labs WLP300. These boost spicy, fruity notes and leave a big, fluffy head.
- Lager: Dry: Saflager W-34/70, Mangrove Jack’s Bohemian Lager. Liquid: Wyeast 2206 (Bavarian), White Labs WLP830. Clean, balanced, a lovely base for precise lagers.
- Saison: Dry: Lallemand Belle Saison. Liquid: Wyeast 3724, White Labs WLP565. Wild, rustic, extra dry—perfect for farmhouse ales to drink in the sun.
Crazy thing is, even pro brewers don’t always stick to traditional yeast pairings. The "Kveik" strains, originally from Norway, have exploded in popularity since about 2018. These wild yeast strains ferment lightning fast at temperatures up to 100°F (that’s like, attic-in-the-summer hot), and they spit out tropical fruit flavors. They’re perfect for hazy IPAs or funky farmhouse beers, and they almost never get stuck or stressed.
Another new favorite is Lallemand Voss Kveik; it can finish fermenting an IPA in two days at 95°F with zero off flavors. For the winter crowd who can’t heat their home brewery, try classic lager yeast fermenting at room temperature: "California Common" (San Francisco lager yeast) can be used for crisp, lightly malty beers like Anchor Steam, and does well around 65°F. Trust modern yeast to break some rules.
Don’t underestimate the power of the humble yeast starter. Any expert, from homebrew competition winners to microbrewery legends, will tell you: the right amount of healthy, active best yeast for beer means fast starts, fewer off flavors, sharper finishing gravities, and consistent results batch to batch. Investing an extra 24 hours to build your starter (just sugar water, some nutrients, and the yeast on a stir plate) gives it a head start—super handy for lagers and big imperial styles.
Watch for clues as your beer ferments. If it gives off a burst of banana or bubblegum—usually high temps or stressed yeast—that’s fine for a German hefeweizen, but not so great in a pale ale. If things get too sluggish, check temp, yeast age, and sanitation. Most fermentations start slow and creamy, get wild and foamy, then slow to lazy bubbles—if it never really gets going, you may need to gently "rouse" the yeast by swirling the fermenter (sanitized hands only!).
Once you land on a favorite yeast, don’t be afraid to reuse it. Harvest it from the bottom of your fermenter (keep things clean!), store it cold, and you can often use the same yeast for a second or third batch. Some pro breweries have kept a house yeast going for years, adapting it to their style and tweaking as they go—kind of like having a family sourdough starter but for beer. Just taste each batch and toss it if off flavors creep in.
Homebrewing is all about experimenting. If your first batch is a disaster, don’t blame yourself—or even the yeast, unless you left the packet in a car for a week. Take notes, tweak the temp, maybe swap yeast next time, and you’ll hit gold before long. Yeast is where science meets gut instinct, but that’s honestly part of the fun. Great beer tells you a secret: the work you put in is worth it.