Home Brewing Tips & Tricks for Beginners and Hobbyists
If you’ve ever thought about making your own beer, you’re not alone. Home brewing has become a favorite weekend project for many people who love a cold pint. The good news is you don’t need a fancy lab or a huge budget to get started. All you need is a few basic tools, a little patience, and a willingness to experiment.
Getting Started with Home Brewing
The first step is picking the right kit. A starter kit usually includes a fermenter, a airlock, a siphon, and cleaning supplies. Look for kits that come with clear instructions and ingredients for a single batch – about 5 gallons is a common size. If you’re buying ingredients separately, start with malt extract, a hop variety you like, and a reliable yeast strain. Malt extract saves you from grinding grains, which can be messy for a first timer.
Next, focus on sanitation. This is the single most important part of brewing. Even a tiny bit of bacteria can ruin a batch, turning it sour or giving it off‑flavors. Wash everything with hot water, then use a no‑rinse sanitizer according to the label. Let the sanitizer sit for a minute or two before rinsing or draining – you don’t need to “rinse” with water after sanitizing.
Once everything is clean, you’ll boil the malt extract with hops. The boil usually lasts an hour and is where the flavor and bitterness develop. Add hops at the beginning for bitterness, midway for flavor, and at the end for aroma. Keep an eye on the pot; the foam can rise quickly and spill over. A spoon or a boiled “foam stopper” can keep it under control.
After the boil, cool the wort (the sugary liquid) as fast as possible. The quicker you cool, the less chance wild yeast have to colonize. An immersion chiller or an ice bath works fine for a home setup. When the temperature drops below 70°F (21°C), pour the wort into your sanitized fermenter, add the yeast, seal the lid, and attach the airlock.
Fermentation is the slow part, but it’s also the most forgiving. Most ales finish fermenting in about two weeks. You’ll see bubbles in the airlock; when they slow down, the yeast is done. You can either bottle the beer now or transfer it to a secondary fermenter for extra clarity.
Common Mistakes and How to Fix Them
One frequent error is over‑souring the beer. This usually happens when the fermenter isn’t sealed properly, letting oxygen in. Make sure your lid is tight and the airlock is filled with sanitizer solution, not water, to keep out unwanted microbes.
Another issue is flat beer. If carbonation is low, you probably didn’t add enough priming sugar before bottling, or the bottles weren’t sealed well. Measure the sugar accurately (about 3/4 cup of corn sugar for a 5‑gallon batch) and use caps that click into place securely.
Cloudy beer can be frustrating, but a quick fix is to let it sit a few extra days in the bottle or move it to a secondary fermenter after the first week. Cold‑crashing (placing the bottles in a fridge for a couple of days) also helps the particles settle.Lastly, don’t ignore the importance of temperature control. Most ales do best between 65‑70°F (18‑21°C). If it’s too warm, you’ll get harsh flavors; too cold and the yeast may stall. A simple space heater or a small fridge with a thermostat can keep your fermentation area stable.
Home brewing is a learning curve, but each batch teaches you something new. Start simple, keep things clean, and enjoy the process as much as the final drink. With these tips, you’ll be raising a glass of your own brew in no time.
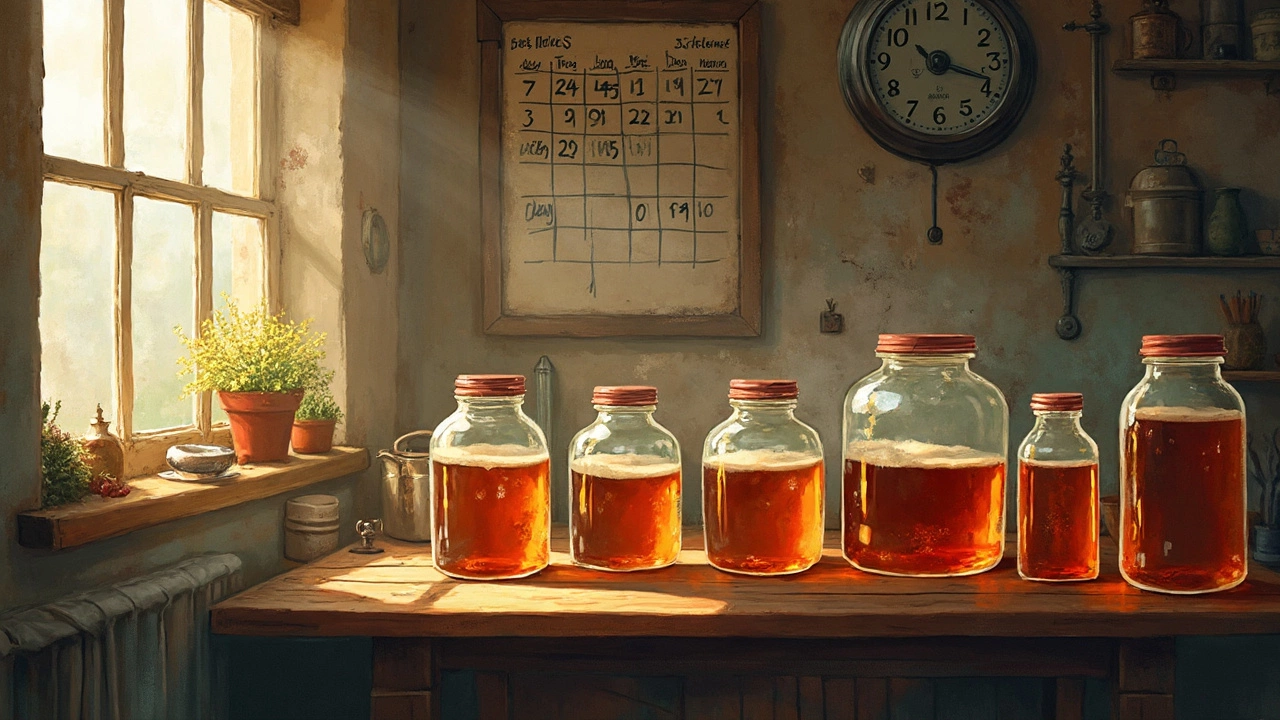
Ever wondered if letting your beer ferment longer makes a difference? Most home brewers have been there, pondering whether to crack open the fermenter early or wait a little longer. This article discusses the impact of extended fermentation on flavor and quality and whether the extra days make your home-brewed flavors more complex or just plain funky.
View Details
Thinking about brewing beer without breaking the bank? Uncover the world of budget home brewing with simple kits that offer big taste without a big price. Learn the essentials of cost-effective brewing, choose the right equipment, and find tips on using everyday items to craft delicious beer at home. This guide makes brewing beer both fun and economical.
View Details
Curious about how much beer a home brew kit can make? This article breaks down the typical yield from home brewing kits, providing insights on different kit sizes, brewing tips, and fun facts to enhance your home brewing experience. Discover how to choose the right kit for your needs and ensure a successful brewing process. Perfect for both beginners and seasoned brewers looking to optimize their brew sessions. Dive into the world of home brewing and start crafting your perfect pint!
View Details
Venturing into the world of home beer brewing offers an exciting hobby as well as a rewarding taste experience. Discover the core essentials you need to start creating your own brew right at your home, from selecting the right equipment to understanding basic brewing techniques. This article provides in-depth insights for novices eager to embark on brewing their first batch. Explore the process from initial preparation to what to expect during fermentation. Every pint brewed at home tells a story, and with the right guidance, yours can too.
View Details
Delve into the science of beer fermentation to discover how the duration influences the strength and flavor of your homebrew. This essential guide for homebrewers explores the role of yeast, alcohol content, and factors impacting fermentation. Learn how to adjust your brewing techniques for optimal results and create flavorful and robust beers. Uncover exciting facts and expert tips that can elevate your brewing game to the next level.
View Details
Brewing beer at home is an exciting adventure, but tackling complex beer styles can be intimidating for newcomers. In this article, we explore why certain beers are harder to brew, delving into the nuances of flavor, technique, and timing. You'll gain insights into the unique challenges of brewing sour ales, Belgian tripels, and Imperial stouts. Tips on managing these complexities successfully are shared, paired with anecdotes from the world of homebrewing enthusiasts. This read aims to embolden the aspiring brewer to step up their game and embrace challenges that lead to exceptional home-brewed creations.
View Details
Brewing beer at home can be a rewarding and enjoyable process. The time it takes depends on several factors including the type of beer and the method used. Beginners typically take around four weeks to complete a batch, which allows for fermentation and conditioning. With the right tools and patience, anyone can create a delicious brew from the comfort of their home. Having fun and experimenting with ingredients can lead to wonderfully unique flavors.
View Details