Homemade Beer Yeast: Simple Steps for Better Homebrew
If you’ve ever wondered why some home‑brews taste richer than the ones you buy, the secret often lies in the yeast. Making your own yeast at home isn’t rocket science – it’s a handful of everyday ingredients and a bit of patience. Below you’ll find practical tips that get you from grain to fizz without a lab coat.
Why Use Homemade Yeast?
Store‑bought yeast packets are convenient, but they can be bland and sometimes dead on arrival. A homemade starter gives you a living, active culture that’s been nurtured from the same malt you’ll brew with. That means the yeast already knows the flavors it will encounter, leading to a smoother fermentation and more pronounced aroma. Plus, you save a few bucks and get a sense of control – you decide how strong or mellow the final beer will be.
Another perk is flexibility. Want a wild ale with funky notes? Use a different grain mix or add some fruit skins to your starter. Need a clean lager profile? Keep the starter simple with just malt extract and water. Your own yeast also reduces the risk of off‑flavors that sometimes sneak in from old or contaminated packets.
Getting Started with a DIY Yeast Starter
Here’s a no‑fuss recipe that works for most ales. Gather these items:
- 2 cups of light malt extract (or a mix of dry malt powder)
- 1 cup of water
- A pinch of yeast nutrient (optional but helps growth)
- A clean glass jar with a loose‑fitting lid or a small airlock
Heat the water, stir in the malt extract until fully dissolved, and let the mixture cool to about 70°F (21°C). Once cool, pour it into your jar and seal it. If you have an airlock, pop it on; if not, just leave a tiny gap for gas to escape.
Leave the jar at room temperature for 24‑48 hours. You’ll see bubbles forming – that’s the yeast feeding and multiplying. After the activity slows down, give the starter a quick swirl and refrigerate it for a day. When you’re ready to brew, simply pitch the whole starter into your wort. The yeast is primed and ready to go, cutting lag time and giving a stronger, more reliable fermentation.
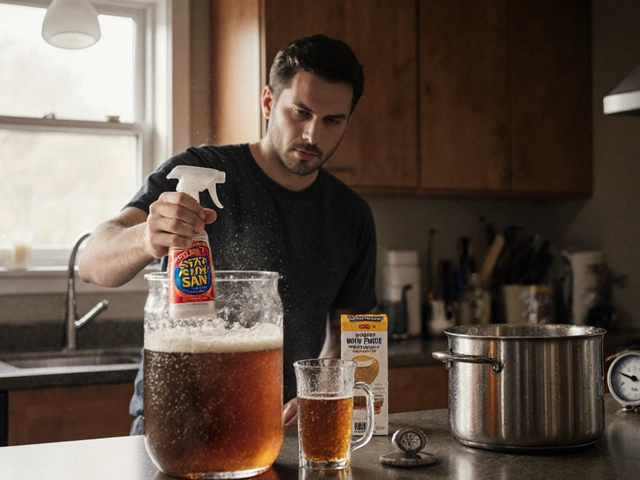
Store any leftover starter in the fridge for up to two weeks. If you notice a sour smell or mold, discard it – hygiene is key. For long‑term use, you can freeze a portion in small freezer bags; thaw and re‑activate with a fresh starter before the next brew.
Homemade yeast isn’t just a trick for the die‑hard hobbyist; it’s a practical way to boost flavor, cut costs, and experiment. Start with the simple starter above, watch the bubbles, and enjoy a beer that truly reflects your own brewing style. Cheers to getting more out of every batch!

Discover which yeast is best for homemade beer, explore ale and lager strains, learn how they impact flavor and get expert tips for flawless home brews.
View Details