Whiskey Tasting Guide & Flavor Explorer
Five-Step Tasting Method
Look
Hold the glass up to the light. Note the color—gold, amber, deep mahogany, or pale straw. Look at the legs (the streaks running down the side). Thick, slow-moving legs often indicate higher viscosity.
Your Tasting Notes
Interactive Flavor Wheel
Click on a category to explore specific flavors
Click a category above to see specific flavor notes...
Tasting Log
No tastings logged yet. Start by filling out your notes above!
Walking into a spirits shop or opening your first bottle of premium whiskey can feel intimidating. You might worry about saying the wrong thing, spitting out an expensive drink, or simply not understanding what you’re supposed to taste. The good news? Whiskey tasting is not a secret club reserved for experts in tweed jackets. It is a learnable skill, much like cooking or playing guitar. With a little structure and the right mindset, anyone can start identifying flavors, appreciating nuances, and enjoying the ritual.
You don’t need a degree in chemistry or a thousand-dollar palate training kit. You just need curiosity, a clean glass, and a willingness to slow down. Here is how you get started, step by step.
The Five-Step Sensory Method
Professional tasters follow a specific sequence to evaluate whiskey. This isn’t just tradition; it’s designed to protect your senses and help you detect subtle notes that would otherwise be masked by alcohol burn or overwhelming aromas. Follow these five steps every time you taste.
- Look: Hold the glass up to the light. Note the color-gold, amber, deep mahogany, or pale straw. Look at the legs (the streaks running down the side). Thick, slow-moving legs often indicate higher viscosity, which can hint at age or cask type. Is the liquid clear or slightly hazy? Clarity usually suggests filtration, while haze might mean natural oils are present.
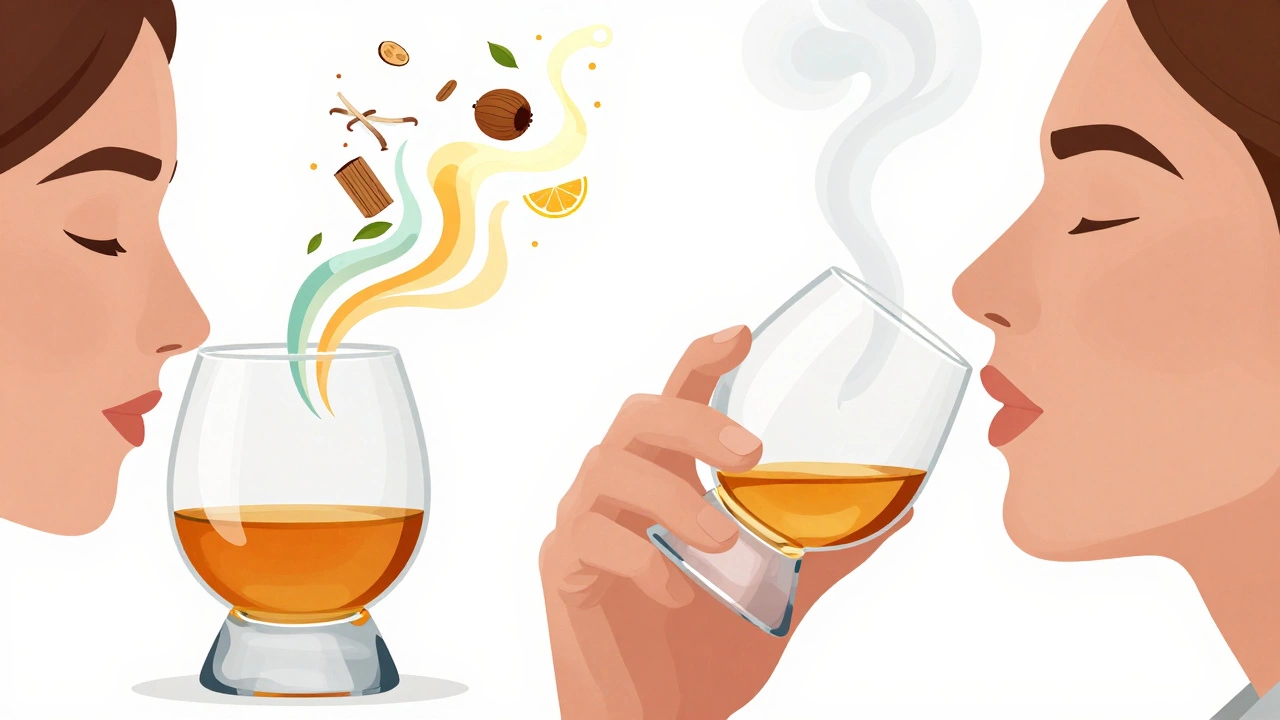
- Nose (Smell): This is the most critical step. Scientific research shows that roughly 80% of what we perceive as taste actually comes from smell. Do not swirl the glass immediately. Swirling releases aggressive alcohol vapors that sting your nose and numb your olfactory receptors. Instead, take a gentle sniff from outside the rim. Then, insert your nose deeper into the glass for a second, deeper breath. If you want to advance, try "retronasal breathing": sip a tiny amount, close your lips, hold the liquid on your tongue, and exhale gently through your mouth. This channels aromas back up through your nasal cavity, unlocking hidden scents.
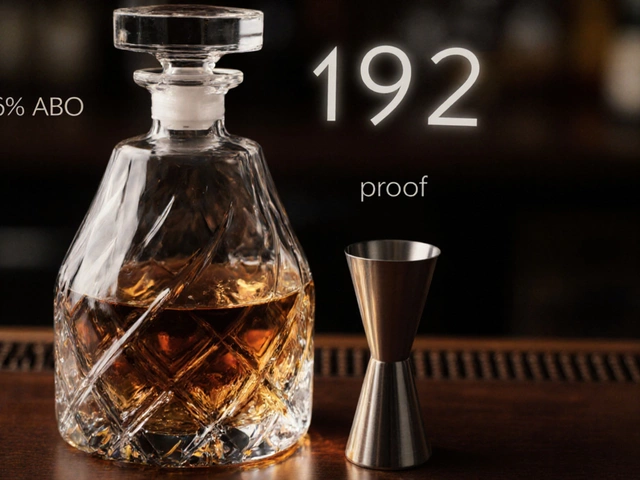
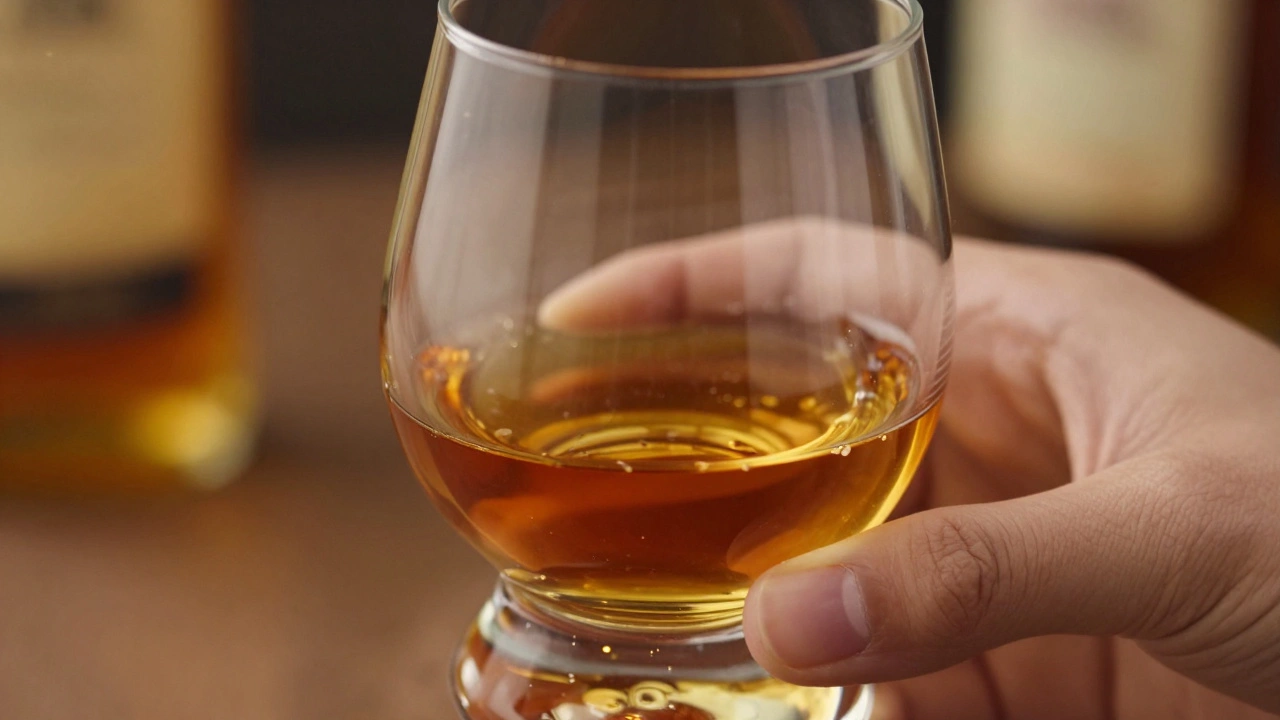
- Taste (First Sip): Take a small sip. Do not gulp. Let the whiskey coat your tongue. Don’t expect to identify flavors yet. Your primary goal here is to acclimate your palate to the alcohol strength. If you’re drinking cask-strength whiskey (often 50% ABV or higher), this initial burn is normal. Wait for it to fade.
- Explore: Take a second sip. This time, hold the liquid in your mouth for several seconds before swallowing. Try "chewing" the whiskey lightly-roll it around your cheeks and teeth. This increases surface area contact with your taste buds, revealing different layers. Notice where you feel sweetness (tip of the tongue), bitterness (back), or saltiness (sides).
- Dilute: Add a few drops of water. This is not cheating; it’s a standard professional technique. Water breaks down ethanol molecules, releasing trapped aromatic compounds. Many high-proof whiskies become significantly more complex and smoother after adding water. Experiment to find your preferred dilution level.
Essential Equipment: Keep It Simple
You do not need expensive gear to start. However, using the right tools makes the process easier and more enjoyable.
| Glass Type | Pros | Cons | Best For |
|---|---|---|---|
| Glencairn Glass | Concentrates aromas; short stem prevents warming; industry standard | Slightly fragile; specific shape takes getting used to | Serious tasters, flights |
| White Wine Glass | Tulip shape traps aromas; widely available | Long stem may warm the spirit faster | Casual home tasting |
| Rocks Glass (Tumbler) | Durable; classic aesthetic | Wide opening lets aromas escape quickly | Ice-heavy drinks, casual sipping |
The Glencairn glass is the gold standard for a reason. Its wide base allows you to swirl the whiskey gently without spilling, while its narrow neck funnels the aromas directly toward your nose. If you don’t have one, a standard white wine glass works surprisingly well because of its similar tulip shape. Avoid wide-mouthed tumblers if you’re trying to analyze aroma, as the scent dissipates too quickly.
Building Your Flavor Library
One of the biggest hurdles beginners face is vocabulary. You might know something tastes "good," but can you say whether it’s vanilla, oak, or dried fruit? To build your personal flavor library, you don’t need specialized kits. Go to your local grocery store.
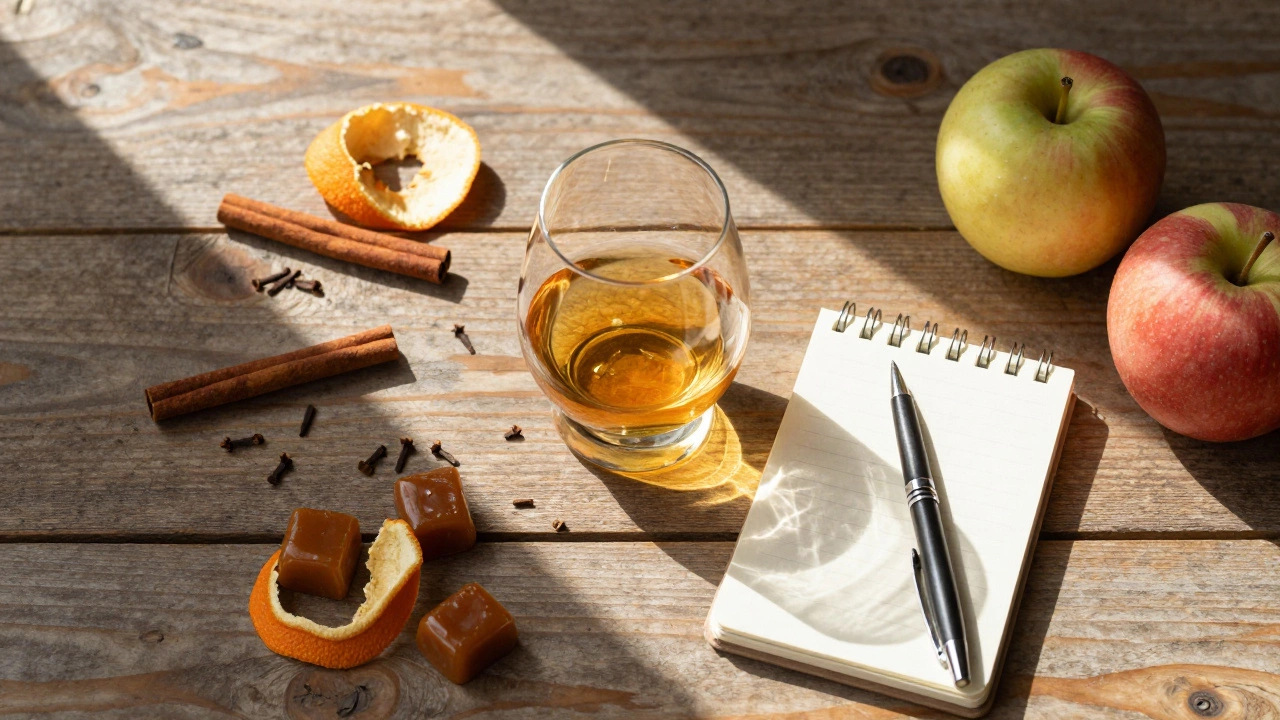
Create a simple reference system. Buy or gather common items found in whiskey:
- Fruit & Floral: Apples, bananas, cherries, citrus peels, honey.
- Wood & Spice: Cinnamon sticks, black pepper, cloves, nutmeg, raw oak chips (available online).
- Sweet & Grain: Corn syrup, caramel candies, rye bread, brown sugar.
Smell each item individually. Then, pour a fresh dram of whiskey and try to match the scents. Over time, you’ll start recognizing these notes instinctively. For example, you might realize that the "spice" you tasted wasn’t generic heat, but specifically cinnamon or black pepper. This practice transforms vague impressions into precise descriptions.
Using the Flavor Wheel
The Bourbon & Banter Flavor Wheel (and similar wheels like the Scotch Whisky Association’s) is a powerful visual tool. It starts with broad categories in the center and expands outward to specific sub-notes.
Start with the five main categories:
- Fruit & Floral: Citrus, stone fruit, berries, floral hints.
- Wood: Oak, cedar, sherry, smoky/peaty notes.
- Grain: Corn, barley, wheat, rye, bready qualities.
- Sweet Aromatics: Vanilla, caramel, honey, toffee.
- Spice: Pepper, cinnamon, clove, herbal notes.
When tasting, pick one category to focus on. Ask yourself: "Is this primarily fruity or woody?" Once you identify the dominant family, look at the outer ring for specifics. Is the wood note "smoky" or "cedar-like"? Is the fruit "green apple" or "ripe banana"? Using the wheel trains your brain to categorize sensations logically rather than guessing randomly.
Common Mistakes Beginners Make
Avoid these pitfalls to ensure your tasting experience is accurate and enjoyable:
- Swirling too hard: Aggressive swirling creates excessive alcohol vapor, which burns your nose and masks delicate aromas. Gentle movement is key.
- Judging on the first sip: The first sip is always shocking due to alcohol intensity. Always wait for the second or third sip to form an opinion.
- Ignoring temperature: Serve whiskey at room temperature (around 18-20°C / 65-68°F). Cold temperatures suppress aromas. Ice dilutes the spirit rapidly and numbs your palate. Save ice for casual drinking, not serious tasting.
- Tasting too many varieties at once: Limit yourself to 3-4 whiskeys per session. Your palate fatigues quickly, and your ability to distinguish flavors diminishes after several strong samples.
Where to Learn More
You can start learning alone at home, but community accelerates growth. Consider joining local whiskey clubs or attending distillery tours. Tutored tastings provide immediate feedback and expose you to rare expressions you wouldn’t buy at retail. Read tasting notes from reputable sources, but use them as guides, not rules. Your palate is unique. If you taste chocolate when others taste smoke, trust your own perception. Consistency and practice matter more than matching expert reviews.
Do I need expensive glasses to start whiskey tasting?
No. While a Glencairn glass is ideal for concentrating aromas, a standard white wine glass works very well because of its tulip shape. Avoid wide-mouthed tumblers if you want to capture scent effectively. You can start with any clean, odor-free glass you already own.
Why shouldn't I swirl my whiskey like wine?
Whiskey has a much higher alcohol content than wine. Swirling vigorously releases intense alcohol vapors that sting your nasal passages and temporarily numb your olfactory receptors. This makes it harder to detect subtle aromas. Instead, sniff gently from the rim first, then deepen your breath slowly.
Is adding water to whiskey considered rude?
Absolutely not. Adding a few drops of water is a standard professional technique known as serial dilution. Water reduces the proof, breaking down ethanol bonds and releasing trapped aromatic compounds. Many cask-strength whiskies become significantly more complex and smoother with a little water.
How long does it take to develop a trained palate?
You can develop basic nosing and tasting skills in a single tutored session. However, consistent improvement requires regular practice. Taste different styles frequently, keep a journal, and compare whiskeys side-by-side. Most enthusiasts notice significant progress within a few months of dedicated tasting.
What should I do if I only taste "alcohol" or "burn"?
This is common for beginners. Try taking smaller sips and holding the liquid in your mouth longer before swallowing. Allow your palate to acclimate to the alcohol strength over several sips. You can also add a drop of water to reduce the burn. Focus on the finish (aftertaste) rather than the initial impact, as flavors often emerge later.