Homebrewing Effort & Cost Calculator
Time Commitment
Active Brew Day Time
--
Total Wait Time (Fermentation)
--
Difficulty Level: --
Estimated Startup Cost (AUD)
--
Pro-Tip for Success
--
Ever stared at a bottle of craft beer and wondered if you could actually make that yourself in your kitchen? The short answer is: it’s surprisingly easy. You don’t need a chemistry degree, a massive backyard brewery, or years of experience. If you can boil water, follow a recipe, and keep things clean, you can brew decent beer.
But "easy" doesn't mean "effortless." Homebrewing is less about complex science and more about patience, discipline, and cleaning. Most beginners underestimate the time spent scrubbing pots and waiting for fermentation to finish. Let’s break down exactly what goes into making your first batch, why people quit, and how to avoid those pitfalls so you end up with a drinkable pint instead of a science experiment gone wrong.
The Real Difficulty Curve: Skills vs. Effort
When we talk about how hard homebrewing is, we have to separate technical skill from physical effort. Technically, brewing beer is straightforward. Yeast eats sugar, creates alcohol and carbon dioxide, and transforms wort (unfermented beer) into beer. That’s the entire process. You aren’t mixing volatile chemicals; you’re essentially baking bread in liquid form.
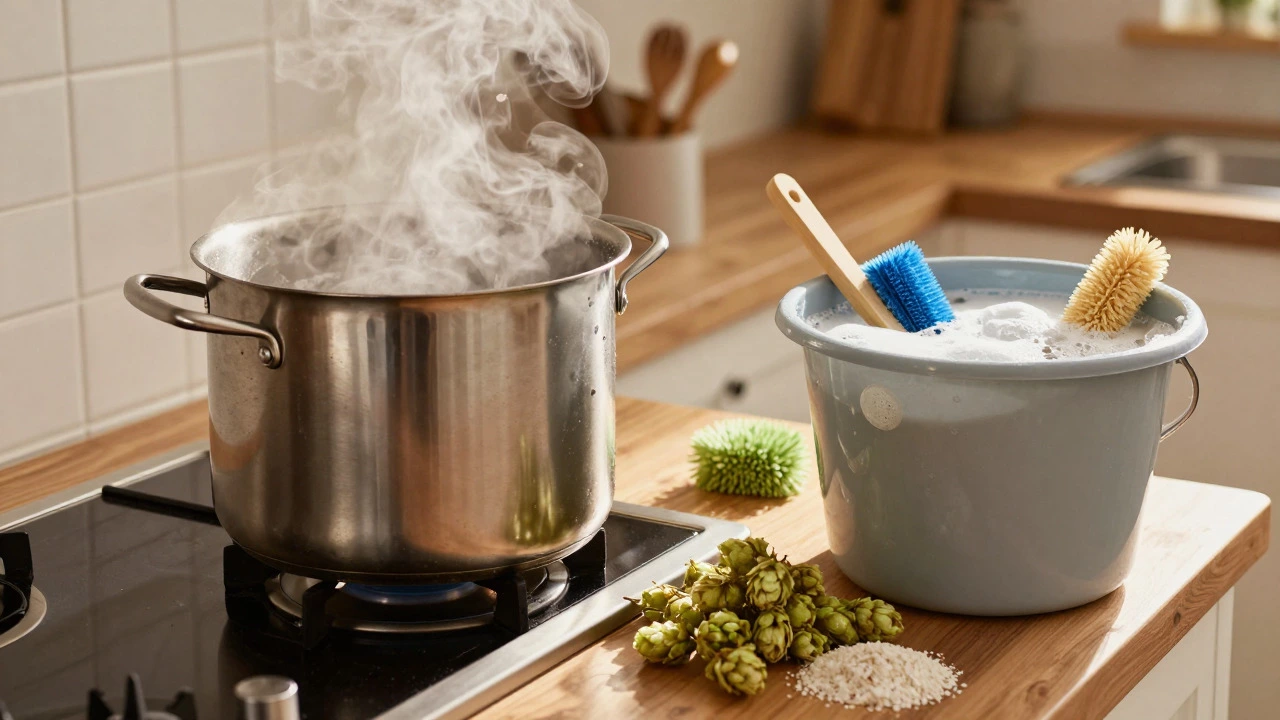
However, the logistical effort is real. A typical brew day takes about six hours. Here is the catch: roughly 80% of that time is spent cleaning equipment before and after you even touch the ingredients. Only about 20% is active brewing-boiling water, adding hops, and stirring. If you hate washing dishes or managing messy kitchen projects, this might feel harder than it sounds. But if you view the cleanup as part of the ritual, the barrier to entry drops significantly.
Most experienced brewers agree that the difficulty isn't in the steps themselves, but in the consistency required. You need to be disciplined about sanitation and temperature control. Miss a step here, and you risk contamination. Rush the cooling process there, and you kill your yeast. It’s a hobby that rewards patience and punishes haste.
Starting Simple: Extract Kits vs. All-Grain
If you are new to this, do not start with an all-grain setup. All-grain brewing involves milling your own barley, mashing grains at precise temperatures, and sparging (rinsing the grains). It adds several hours of work and requires more expensive equipment like mash tuns and additional kettles. For your first few batches, stick to extract brewing kits.
Extract kits come with pre-cooked malt syrup or dried malt extract. This skips the mashing process entirely. You just heat water, dissolve the extract, boil with hops, cool it down, and add yeast. It’s like using a cake mix versus grinding your own flour. You still get to control the flavor through hop additions and yeast choice, but the hardest part of the grain processing is done for you.
| Feature | Extract Kit Brewing | All-Grain Brewing |
|---|---|---|
| Time Commitment | 3-5 hours on brew day | 6-9 hours on brew day |
| Technical Skill | Low (follow instructions) | Medium-High (temperature management) |
| Equipment Cost | $100-$200 AUD initial setup | $300-$600+ AUD initial setup |
| Cleanup Complexity | Moderate (fewer vessels) | High (multiple large vessels) |
| Flavor Control | Limited by kit base | Complete creative freedom |
Many beginners also start with one-gallon kits rather than the standard five-gallon (approx. 19 liters) batches. One-gallon systems take up less space, require smaller pots, and if you mess up, you’ve only wasted a small amount of money and ingredients. Brands like Brooklyn Brew Shop offer these compact options, which are great for testing the waters without committing to a full-scale operation.
The Golden Rule: Sanitation Over Everything
If there is one thing that separates successful homebrewers from those who give up after their first sour batch, it is sanitation. In professional breweries, they use industrial sterilization. At home, you don’t need that level of intensity, but you do need to be obsessive about cleanliness.
Wild bacteria and wild yeast are everywhere-in the air, on your hands, and lurking in the crevices of your sink. If any of these contaminants get into your fermenter, they will race your brewing yeast for the sugars. The result? Beer that tastes like vinegar, wet dog, or band-aids. This is the most common reason beginners quit. They think they did everything right, but the beer tastes bad because they didn’t sanitize properly.
You don’t need expensive equipment to solve this. Use a no-rinse sanitizer like Star San or Iodophor. These products kill microbes on contact and leave a protective film that prevents regrowth for a short period. Every piece of equipment that touches the beer after the boil-your fermenter, airlock, spoon, bottles-must be sanitized. Wash everything hot and soapy first to remove organic matter, then rinse, then sanitize. It feels tedious, but it is the single most important step in the process.
Patience: The Hardest Ingredient
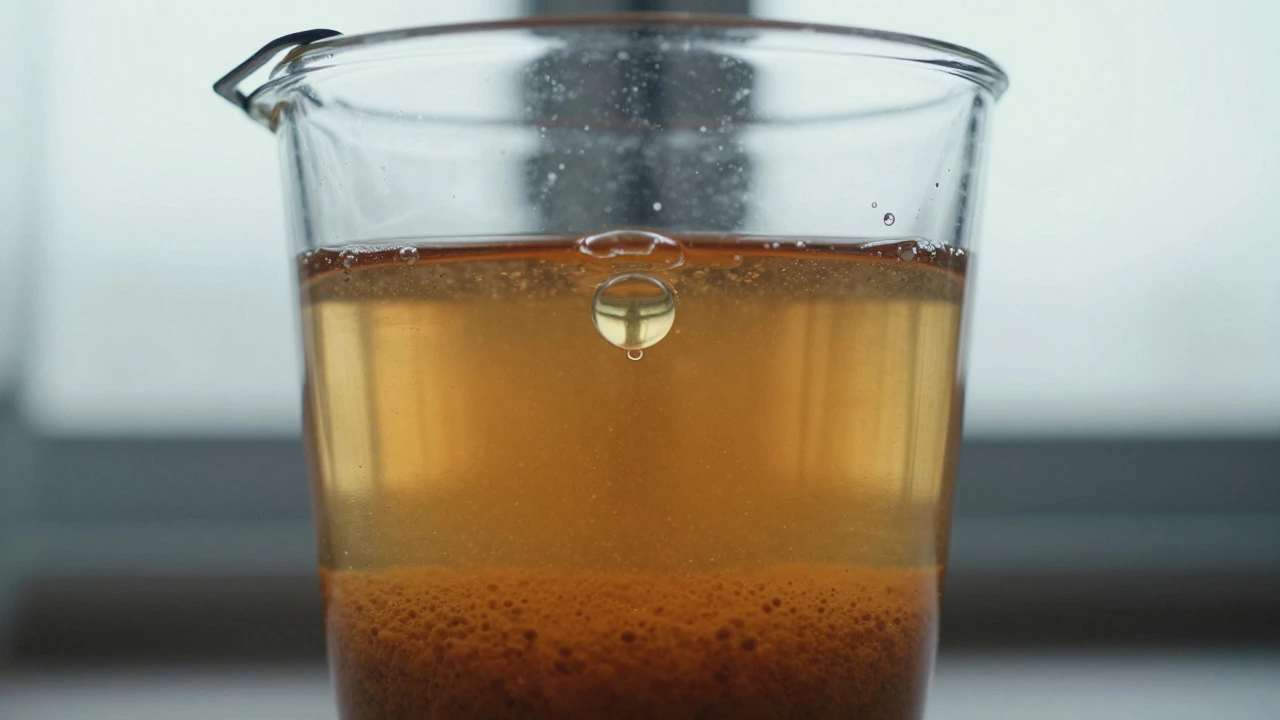
Let’s talk about time. Once you finish brewing on Saturday, you cannot drink the beer on Sunday. Fermentation takes time. Typically, primary fermentation lasts about two weeks. During this time, the yeast consumes the sugars and produces alcohol. You will see bubbles in the airlock, foam rising, and eventually, the activity slows down.
Here is where many beginners fail: impatience. You want to taste your creation immediately. But opening the fermenter too early introduces oxygen, which can oxidize the beer, giving it a cardboard-like flavor. Worse, if you bottle the beer before fermentation is complete, the remaining yeast will continue to produce CO2 inside the sealed bottle. This can lead to over-carbonation, causing your bottles to explode when you open them. We’ve all seen the mess.
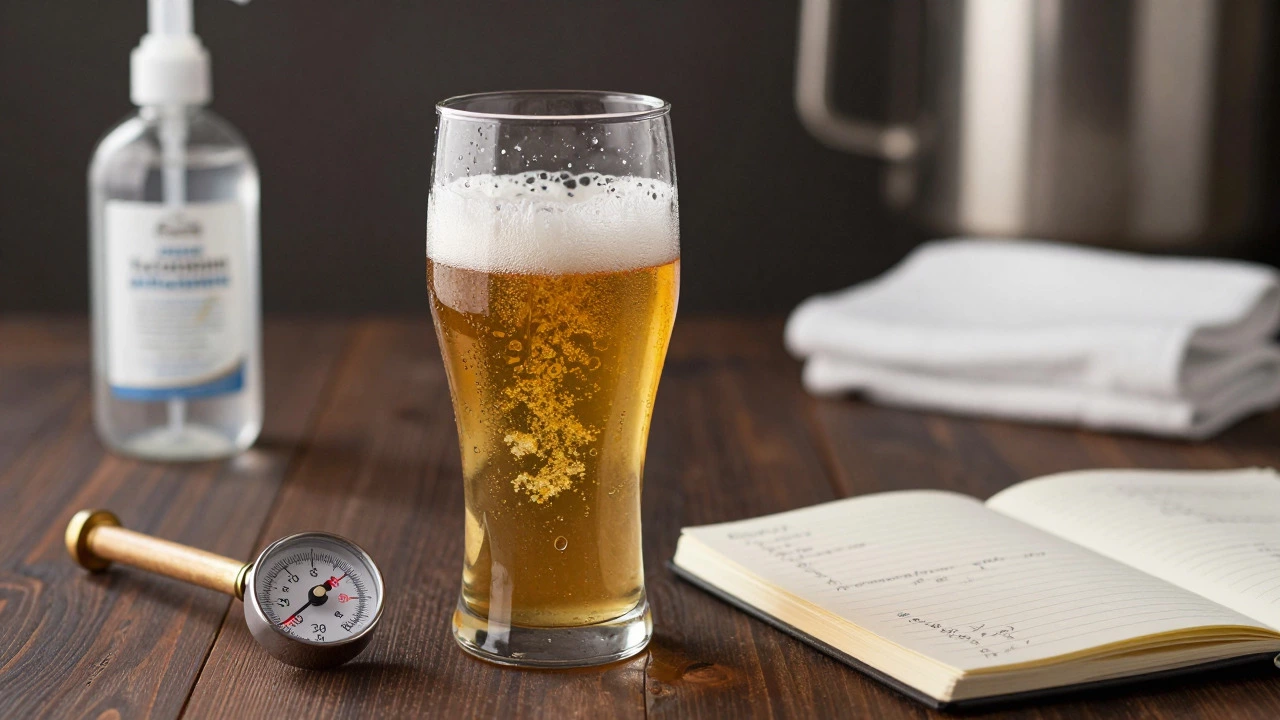
A good rule of thumb is to wait at least three to four weeks from brew day before tasting. Use a hydrometer to check specific gravity. Take a reading on day zero (before adding yeast), then again on day 14 and day 15. If the numbers match, fermentation is done. If not, wait another week. This passive waiting period accounts for about 95% of the total timeline, even though it requires almost zero active effort from you.
Common Mistakes That Make Brewing Feel Hard
Brewing feels difficult when things go wrong. Usually, these problems stem from a few predictable errors. Avoiding them makes the process feel much smoother.
- Temperature Shock: When you transfer hot wort into your fermenter, aim for the temperature range specified on your yeast packet (usually around 20°C to 22°C for ales). If the wort is too hot, you kill the yeast. If it’s too cold, the yeast goes dormant and fermentation stalls. Use a thermometer. It’s cheap and essential.
- Boil Overs: Wort foams aggressively when boiling, much more than plain water. If you fill your pot too high, it will spill over onto your stove, creating a sticky, burnt mess. Leave plenty of headspace in your kettle.
- Skipping Instructions: Read the kit instructions twice before you start. Some kits require steeping grains, others don’t. Some require hopping at the beginning of the boil, others at the end. Deviating from the guide on your first batch is a recipe for confusion.
- Choosing Difficult Styles: Start with forgiving beer styles. Brown ales, porters, stouts, and IPAs mask minor off-flavors well. Lagers and pilsners require strict temperature control and longer conditioning times, making them frustrating for beginners.
Is It Worth the Effort?
So, how hard is it really? On a scale of 1 to 10, where 1 is making toast and 10 is building a rocket ship, brewing beer is a solid 3. The technical steps are simple. The equipment is affordable. The recipes are abundant online.
The "difficulty" comes from the mental shift. You have to embrace a slow process. You have to enjoy the ritual of cleaning. You have to trust the yeast to do its job without interfering. Once you accept that, brewing becomes incredibly rewarding. There is a unique satisfaction in drinking a beer you made from scratch, knowing exactly what went into it. Plus, homemade beer often tastes fresher and more robust than mass-produced alternatives because it hasn’t been pasteurized or filtered heavily.
If you are ready to commit a Saturday afternoon and a few weeks of waiting, give it a try. Buy a basic extract kit, watch a few tutorial videos on YouTube to visualize the process, and focus on keeping everything clean. Your first batch might not be award-winning, but it will likely be drinkable-and that’s a huge win.
How much does it cost to start homebrewing?
You can start brewing for approximately $150-$250 AUD if you buy basic equipment like a fermenter bucket, airlock, siphon, and a starter kit. Prices vary depending on whether you buy locally or online, but it is generally cheaper than buying craft beer regularly once you’ve brewed a few batches.
Do I need a lot of space to brew beer at home?
Not really. You need access to a kitchen stove and a clean area to set up your fermenter. A 5-gallon batch fits easily in most kitchens. The main constraint is having enough counter space to work safely while handling hot liquids and heavy pots.
Can I brew beer alone?
Yes, absolutely. Many brewers work solo. While having a helper can make lifting heavy pots easier, it is not necessary. Just ensure your workspace is organized and safe to prevent accidents when handling hot wort.
What happens if my beer gets contaminated?
Contaminated beer usually tastes sour, funky, or medicinal. While some infections can be interesting (like in certain sour beers), for a beginner, it’s best to dump the batch and review your sanitation process. Don’t worry-it happens to everyone eventually, and it’s a valuable learning experience.
Is it legal to brew beer at home in Australia?
Yes, it is legal for adults to brew beer at home for personal consumption in Australia. There are no limits on the amount you can brew for yourself, provided you don’t sell it commercially without a license. Always check local council regulations regarding noise or waste if you brew in large quantities.